Are you bored of messing up with your own custom .vimrc which is eventually broken or difficult to maintain?. Well, there are lots of projects in order to have a vim plugin environment well setup, I’ll just show one of them. I’m following the steps you can see in https://github.com/jez/vim-as-an-ide install instructions:
- First, let’s get Vundle:
mv ~/.vim ~/.vim.beforeVundleBackup
mv ~/.vimrc ~/.vimrc.beforeVundleBackup
mkdir ~/.vim && mkdir ~/.vim/bundle/
git clone https://github.com/gmarik/Vundle.vim ~/.vim/bundle/Vundle.vim
With that, you already have the bare minimum to work with Vundle.
2. Follow this to get a proper font: https://github.com/jez/vim-as-an-ide/commit/457f2e2
If your using iTerm2 basically you need to download the solarized.zip file and load preset from the iterm2-color-solarized folder.
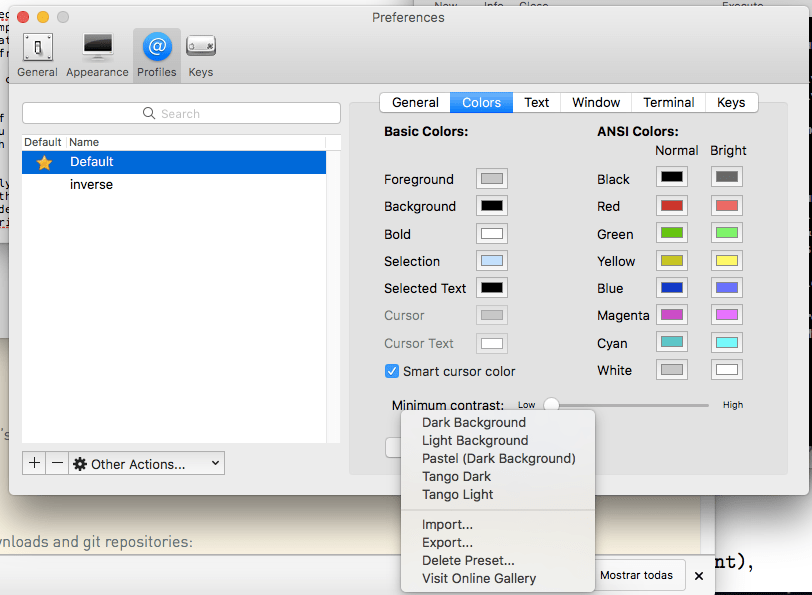
Import both: “Solarized Dark” and “Solarized Light” and you can decide later which one is more convenient.
In iTerm2 make sure this is your terminal type (more info):

3. Now it’s time to get the vimrc:
wget https://github.com/jez/vim-as-an-ide/raw/master/vimrc.vim && mv vimrc.vim ~/.vimrc
4. Now runvim +PluginInstall +qall
And that’s all, now your Vim should look like this:
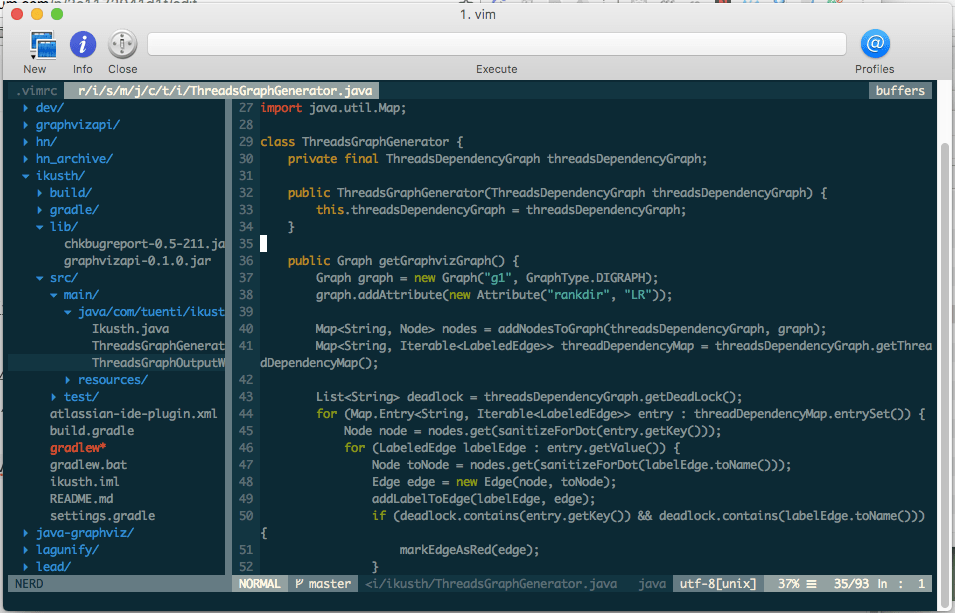
Now you already have a pretty good vim setup and you’ll be able to install new plugins easier.
e.g I can install a SML plugin just adding this to the .vimrc:
Just remember to run this every time you run a plugin:
vim +PluginInstall +qall