Category Archives: tcp/ip

Network Tools Inside a POD: Exploring /dev/tcp and BusyBox

When working with containers, especially in Kubernetes, it’s common to troubleshoot network issues or communicate with other services from within a POD. For most engineers, the go-to tools for these tasks are often BusyBox utilities like telnet, curl, nc or wget. However, there are scenarios where BusyBox isn’t installed in the POD, and you find yourself without these essential networking tools.

Related video:

But don’t worry—if your POD has bash installed, there’s a lesser-known method you can use: /dev/tcp. This built-in feature of bash allows you to perform basic network communication tasks directly from the command line.

The Role of BusyBox in a POD

BusyBox is a popular suite of Unix utilities that provides stripped-down versions of common commands. It’s widely used in containers because of its minimal footprint. With BusyBox, you get access to a variety of tools, including:

  • telnet for simple network connections,
  • wget and curl for making HTTP requests,
  • nslookup or dig for DNS lookups.

However, if your POD image is extremely minimal or designed for a specific purpose, BusyBox might not be included. This leaves you without the usual arsenal of network troubleshooting tools.

Enter /dev/tcp: A Hidden Bash Gem

If you’re stuck without BusyBox, and you have access to bash, you can still perform network operations using the special file /dev/tcp. This feature is available in bash versions 2.04 and later, and it provides a way to make TCP and UDP connections directly from the shell.

How /dev/tcp Works

The /dev/tcp file isn’t a real file on disk—rather, it’s a special bash feature that lets you open a network connection and send or receive data. The syntax is straightforward:

cat < /dev/tcp/<hostname>/<port>

This command attempts to read from a TCP connection to the specified hostname and port. You can also send data by redirecting output to /dev/tcp:


echo -e "GET / HTTP/1.1\nhost: <hostname>\n\n" > /dev/tcp/<hostname>/<port>

Examples of Using /dev/tcp

Let’s explore a few practical examples of using /dev/tcp inside a POD:

1. Checking if a Port is Open

You can use /dev/tcp to check if a specific port is open on a target host. This is similar to what you might do with telnet or nc:

if echo > /dev/tcp/google.com/80; then
  echo "Port 80 is open"
else
  echo "Port 80 is closed or unreachable"
fi

This command attempts to send data to Google’s HTTP port (80). If the port is open, the echo command will succeed, otherwise, it will fail.

2. Performing a Simple HTTP GET Request

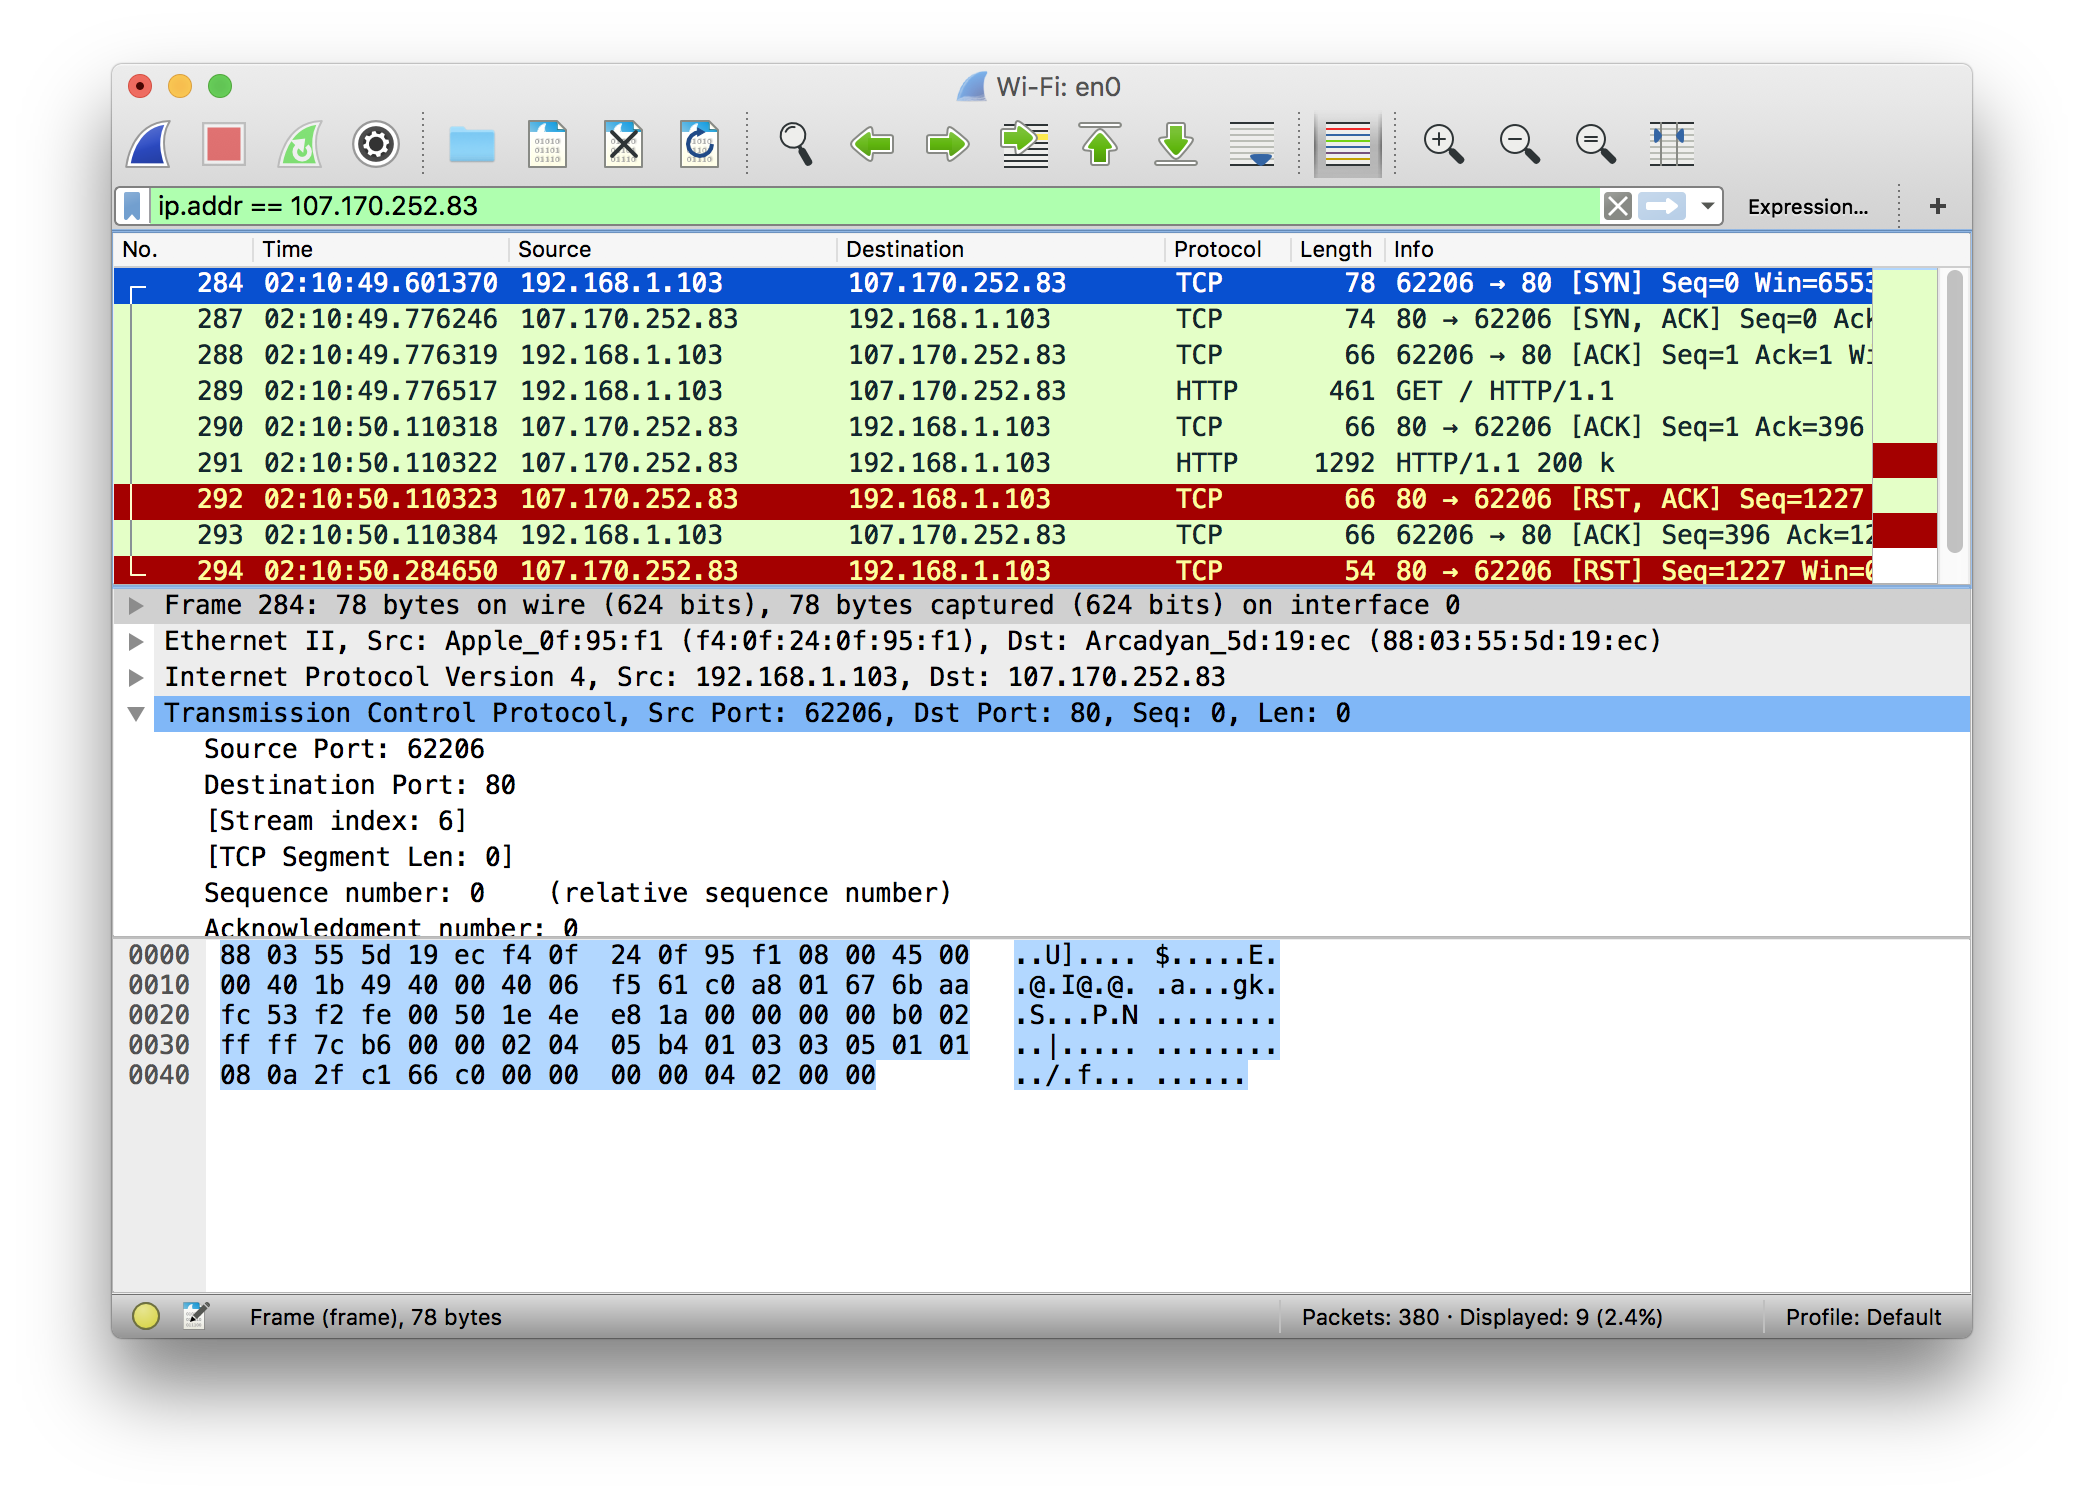
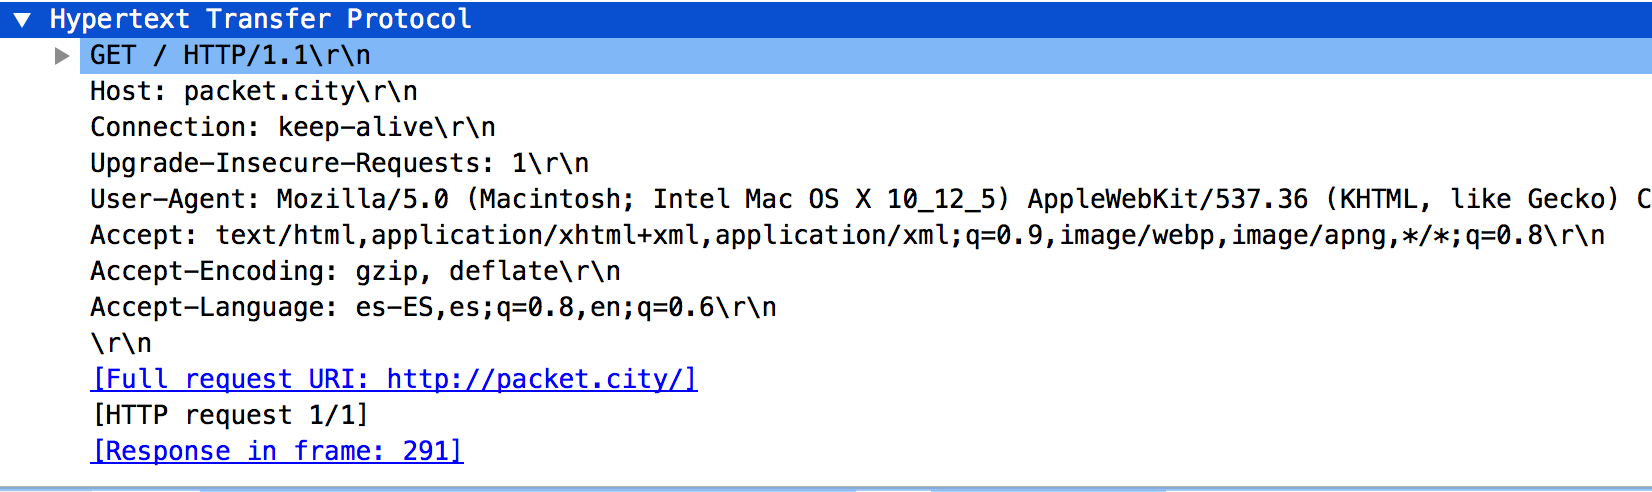
Without curl or wget, you can still make HTTP requests using /dev/tcp:

exec 3<>/dev/tcp/example.com/80
echo -e "GET / HTTP/1.1\nHost: example.com\nConnection: close\n\n" >&3
cat <&3
exec 3>&-

Here, the exec 3<>/dev/tcp/example.com/80 command opens a TCP connection to example.com on port 80 and assigns file descriptor 3 to it. The echo command sends an HTTP GET request to the server, and the cat command reads and displays the response.

3. Basic DNS Query

You can use /dev/udp (a similar feature for UDP) to perform a simple DNS query:

echo -ne "\x01\x00\x00\x01\x00\x00\x00\x00\x00\x00\x07example\x03com\x00\x00\x01\x00\x01" > /dev/udp/8.8.8.8/53

This sends a raw DNS query to Google’s DNS server (8.8.8.8) asking for the IP address of example.com. Interpreting the response requires more work, but this example shows how you can interact with network services at a low level.

Conclusion

While BusyBox is a fantastic toolset for handling networking tasks inside a POD, it isn’t always available. In such cases, knowing how to use /dev/tcp can be a lifesaver. This built-in feature of bash allows you to perform basic network operations, such as checking open ports or making simple HTTP requests, without relying on external utilities.

Remember, though, that /dev/tcp is not as user-friendly or powerful as tools like curl or wget. It’s best used as a fallback option when you’re in a minimal environment and need to troubleshoot connectivity issues.

By mastering these lesser-known tools, you can be better prepared for any situation that arises within your Kubernetes environment.

Analyzing FastestWebsiteEver

Checking https://github.com/diracdeltas/FastestWebsiteEver was on my TODO list. Let’s see some details in Wireshark and review some TCP/IP details.

Captura de pantalla 2017-09-30 a las 3.19.38.png

You can check http://packet.city/ if you want to avoid setting up the service yourself.

So you open Wireshark and you start capturing. Visit http://packet.city and you can use a Wireshark filter for the resolved IP for packet.city.

Captura de pantalla 2017-09-30 a las 2.11.30.png

The project states that it is “the greatest website to ever fit in a single TCP packet”.

Is it true? Let’see what it needs: I can see 9 packets and some details.

First 3 packets (handshake)

Captura de pantalla 2017-09-30 a las 3.03.49.png

Like any normal TCP connection we start with a 3-way handshake:

  • First, my laptop sends a SYN packet with an Initial Sequence Number which can be seen 0 in Wireshark but that’s actually a relative over a random. This is my laptop requesting proof that its message can get through.

Captura de pantalla 2017-09-30 a las 2.28.14.png

  • The server needs to send an ACK packet (to prove SYN received) and its own SYN (to prove it can reach the client). We can see it’s actually done in the same sent packet: SYN-ACK

Captura de pantalla 2017-09-30 a las 2.30.49.png

  • My laptop receives the SYN-ACK: as its an ACK it knows it can send a packet to the server and as its a SYN it knows that the server needs an ACK, so it sends such ACK.

Captura de pantalla 2017-09-30 a las 2.35.54

  • Once the server receives that ACK handshake has finished and the channel is considered feasible. However it might have been like, but this is the minimum to start trying to communicate.

Packet #4 (GET)

We’ve finished with the 3 first packets. The fourth one is the GET request.

Captura de pantalla 2017-09-30 a las 2.41.10

Captura de pantalla 2017-09-30 a las 2.48.50.png

Notice that Push flag is enabled (PSH) and also ACK as with any exchanged packet during the communication.

In HyperText Transport Protocol we can see the sent HTTP request:

Captura de pantalla 2017-09-30 a las 2.52.48

#5 and #6 packets

Captura de pantalla 2017-09-30 a las 3.04.41.png

Packet #5 is an ACK:

Captura de pantalla 2017-09-30 a las 3.00.10

Next packet is the HTTP GET response:

Captura de pantalla 2017-09-30 a las 3.02.55.png

I guess this is what the project describes as “send response immediately after TCP session init”

I think PSH is enabled because Nagle’s algorithm is disabled as the project describes too.

In Hypertext Transfer Protocol section we can see DEFLATE compression is being used, again exactly as described in README.

Captura de pantalla 2017-09-30 a las 3.13.12.png

See that Response is “200 k” instead of “200 OK”: 1 byte saved there.

Content encoded is 1163 bytes (1547 bytes decoded), far from needing fragmentation:

The maximum would be 1460 bytes for content and 40 bytes for IP and TCP headers.

In this case, the frame is 1292 bytes, TCP segment length is 1226 bytes and HTTP Content-Length is 1163 bytes, in detail:

ethernet_frame

  • Frame header (14 bytes): 7 bytes for preamble, 1 byte for SFD, 12 bytes for source and destination MACs and 2 bytes for packet type (IP) –> 22 bytes (14 ignoring preamble and SFD)

Captura de pantalla 2017-09-30 a las 9.49.08.png

  • IP header (20 bytes): 1 byte for ip.version (4), 1 byte for ip.dsfield, 2 bytes for ip.len (Length), 2 bytes for ip.id (ID), 1 byte for ip.flags (0x02, ip.flags.df (Don’t Fragment  )is set), 2 bytes for ip.frag_offset (Fragment Offset), 1 byte for ip.ttl (TTL), 1 byte for ip.proto (Protocol), 2 bytes for ip.checksum (Header checksum) and 8 bytes for ip.src and ip.dst.

TCP-Header.png

  • TCP header (32 bytes): 4 bytes for tcp.srcport and tcp.dstport, 4 bytes for tcp.seq (Sequence Number), 4 bytes for tcp.ack (Ack Number), 2 bytes for tcp.flags, 2 bytes for tcp.window_size_value, 2 bytes for tcp.checksum, 2 bytes for tcp.urgent_pointer, 12 bytes for tcp.options

Captura de pantalla 2017-09-30 a las 10.17.44.png

  • HTTP (1226 bytes): 15 bytes for “HTTP/1.1 200 k\n”, 21 bytes for http.content_length_header, 26 bytes for http.content_encoding_header, 1 byte of “\n” and 1163 bytes for Content (encoded)

About the HTTP response content, it’s easier seeing the source code in the browser, there you’ll see:

Captura de pantalla 2017-09-30 a las 3.16.04.png


Last 3 packets

Finally last 3 packets. Server resets the connection with RST packet. I guess they could use FIN but RST is quicker. More about FIN vs RST.

Captura de pantalla 2017-09-30 a las 3.21.41.png

That’s all 🙂